
Signs of Life Resources: Ores, Plants and Alien Materials
Where to find every major Signs of Life resource: copper, iron, coal, titanium, Xenohide, plant fiber and the materials behind each crafting tier.
Copper, tin and coal sit near the surface. Iron, silver, gold and the exotic ores sit deeper. Better tools and light are part of the resource chain.
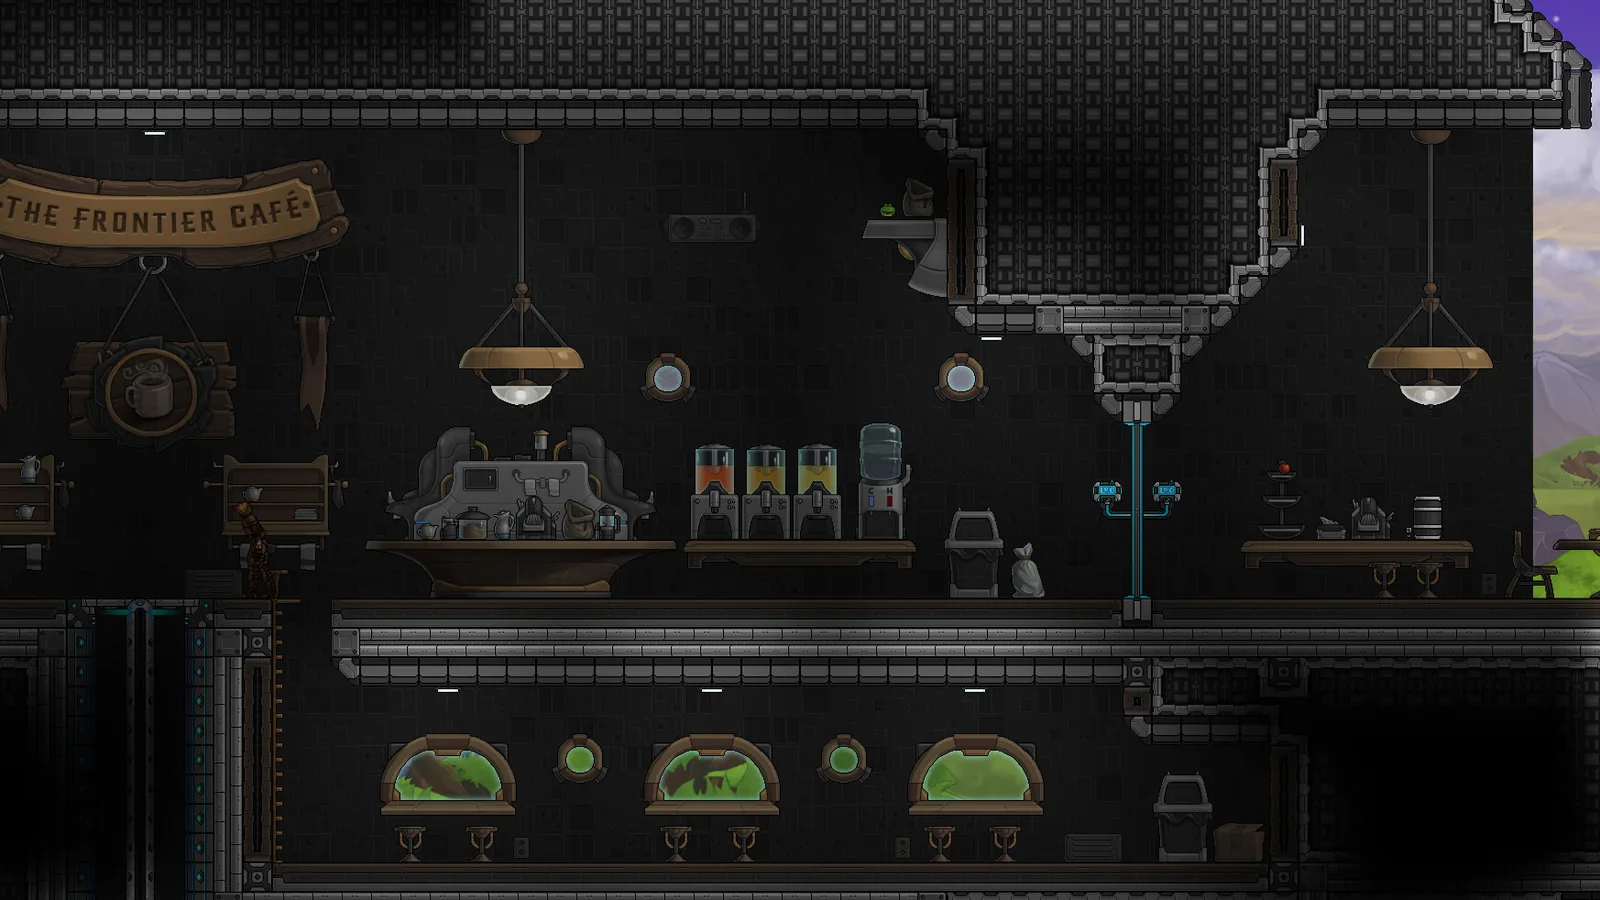
Signs of Life does not use a simple "ore tier" menu. Resources are tied to depth, biome and, in the late game, to alien structures. The practical result is that your ability to gather a material depends as much on your light and traversal gear as on your pickaxe.
This guide groups resources by where they come from and what they are for. Exact node placement is procedural, so treat the depth bands as guidelines rather than fixed coordinates.
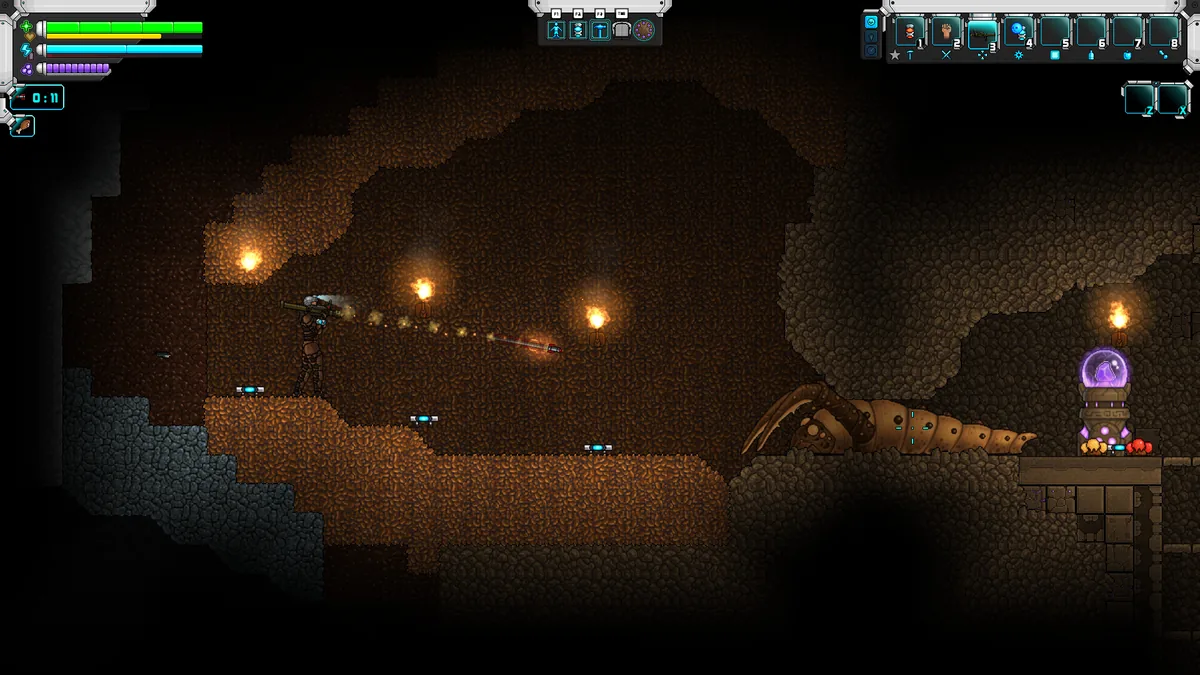
Ore depth decides which tier you can craft.
The ore families
Copper and tin
The first metals. Copper and tin combine into bronze, which carries you from stone tools to iron. They appear near the surface and in the upper caves around the starting area.
Copper is also used in wire, batteries and early electronics. Do not turn all of it into bronze; keep a stack for components.
Iron
The backbone of the mid-game. Iron ingots make hammers, structural parts, weapons and armour. Iron nodes appear deeper than copper and often cluster near cave walls.
Iron is the material you should mine in bulk. A single trip with 40 iron ore is worth more than a chest of copper by the time you build a Blast Furnace.
Coal
Fuel for furnaces and a component in several recipes. Coal is common in caves and near surface deposits. Keep a dedicated coal chest; smelting eats through it faster than you expect.
Silver, gold and lead
Mid-to-late metals used in electronics, advanced gear and trade-value items. They appear deeper than iron and often in smaller veins. Do not ignore them, but do not build your first base around them.
Platinum, aluminium, titanium and bornite
Late-game metals. Aluminium comes from bauxite and is used in fuel cells and advanced components. Titanium and bornite feed high-end gear. These require deeper expeditions and better equipment.
Energite
An energy-related ore used in late-game power and gear recipes. Treat it as a specialist material: mark the location and return with a full load rather than picking up a few pieces.
Organics
Plant fiber
The most common organic material. Used in rope, fabric, torches and basic tools. Harvest plants as you walk; fiber is light and always useful.
Wood
Boards, structures, handles and fuel. Wood is biome-dependent; forest and grassland are the best sources. Build a storage chest early.
Hide and bone
Animal drops used in armour, tools and decorations. Hunt the animals you pass rather than making dedicated trips. Bone is also used in some alien-themed recipes.
Food
Berries, fruit, mushrooms, meat and cooked meals. Food occupies its own HUD slot in 1.0, so carrying a stack is part of combat preparation. Cook raw food at a Campfire or Brick Oven.
Alien and advanced materials
Xenohide
Dropped by Xenoid creatures and Ruins Hounds. Used in late-game armour and gear. Xenoid cities and ruins are the best sources.
Xenoid Alloy
A late-game metal associated with Xenoid technology. It comes from Xenoid structures and enemies. Save every piece; the best gear recipes use it.
Carbon nanotubes
Produced at a Carbon Nanotube Processor from advanced inputs. Used in high-end devices and armour. This is a crafted material, not a raw node.
Microchips and electronics
Found in labs, ruins and machine rooms, or crafted from advanced components. Electronics gate the best tools and power equipment.
Strange Alloy
A rare material associated with alien or ancient technology. It appears in late-game recipes and ruins. Do not sell it before you know what it unlocks.
Where to look
Surface and upper caves
Copper, tin, coal, stone, wood, plant fiber and common animals. This is your first-week resource zone. The area around the Mining Base is deliberately rich enough to get you started.
Deep caves
Iron, silver, gold, lead and the first exotic ores. Deep caves are dark and dangerous. Bring torches, food, a backup weapon and a route back to the surface.
Ruins and labs
Electronics, datapads, machine parts and alien materials. Ruins are worth a full clear, not a quick pass. Scan before you loot so you do not miss story entries.
Xenoid territory
Xenohide, Xenoid Alloy and archive records. Xenoid cities are the densest source of alien materials. The 1.0 build expanded their layouts and loot, so search rooms thoroughly.
Gathering efficiency
- Mine by need, not by colour. A full chest of copper is not progress if you need iron.
- Bring the right tool. Better pickaxes mine faster and may be required for harder nodes. Each swing costs stamina, so upgrade before a long trip.
- Light your route. Place torches as you descend. You will come back through that tunnel.
- Leave a marker. Use Comm Beacons or a distinctive block pattern to mark rich veins.
- Do not overfill. A half-full inventory you can carry home beats a full inventory that forces a slow walk.
- Process at the base. Smelt ore near the furnace, not at the mine. Ingots are easier to store and use.
Resource priorities by stage
First hour
- Plant fiber, wood, stone.
- Copper and tin for bronze.
- Coal for the first furnace.
- Food and hide.
First week
- Iron in bulk.
- More coal.
- Silver and lead if you find them.
- Electronics from labs.
Mid-game
- Titanium, aluminium and bornite.
- Carbon nanotubes.
- Advanced ammunition components.
Late game
- Xenohide and Xenoid Alloy.
- Strange Alloy.
- Energite.
- Colony production inputs.
Co-op resource rules
Shared worlds create resource conflicts. A few rules keep the peace:
- Raw ore is shared; personal gear is not.
- The host owns the world save, so the host decides on base stockpiles.
- One player should own the smelting queue.
- Mark dedicated chests for ammunition and power components.
- Do not take the last stack of a material someone else is using.
The crafting guide→ explains what each material becomes, and the biomes guide→ explains where the dangerous resources are.
Official source: Official Signs of Life wiki material and item categories, Steam store description and Updates 25-27 patch notes, checked 10 November 2026.
Sources and further reading
- Official wiki materials ↗ - item and material reference
- Steam store page ↗ - game feature overview
- Update 26 patch notes ↗ - Xenohide and Ruins Hounds
- Update 25 patch notes ↗ - fuel cell and advanced recipes
FAQ
Where do I find iron in Signs of Life?
Iron appears deeper than copper and tin, often in cave walls. Follow natural caves from the starting area and light your route.
What are Xenohide and Xenoid Alloy used for?
Late-game armour and gear. They drop from Xenoid creatures and Ruins Hounds and appear in Xenoid structures.
Does ore respawn?
The game does not document ore respawn behaviour, and procedural worlds vary. Plan routes around known veins rather than waiting for a node to refill.
What should I mine first?
Copper and tin for bronze tools, then coal for the furnace, then iron in bulk for hammers and a Blast Furnace.
Related Signs of Life Guides
A Signs of Life crafting guide: work table tiers, furnace upgrades, hammer requirements, recipe chains and how to organise production.
A tour of Signs of Life biomes: grasslands, purple alien terrain, caves, ruins, Xenoid cities and the late-game New Earth areas.
Choosing a Signs of Life base location: ore access, flat ground, biome hazards, story travel and the best spots for a first or late-game base.
Every major Signs of Life 1.0 change: the ending, Xenoid cities, colony management, rebalanced gear, controls and co-op fixes.
The Signs of Life achievement list with global unlock rates, the gemologist chain, the joke achievements and a practical completion route.
How the Signs of Life alien language works: scan inscriptions, build understanding, unlock Xenoid dialogue and extract seven archive records with AGIS.
More Signs of Life Guides
How armor works in Signs of Life, the best early and late sets, Ghost Hide and Energy Plate bonuses, mining suits and co-op gear priorities.
Automate a Signs of Life base with turrets, Pneumail shared storage, drone accessories and post-game colonist jobs, without wasting power.
How base building works in Signs of Life: valid room sizes, walls, doors, lighting, station layout and the mistakes that waste materials.
Practical Signs of Life tips for new players: scan everything, manage stamina, build one good room, and avoid the early base traps.
The major Signs of Life boss fights, the order to attempt them, gear checks and arena tips, plus a pointer to the Buff Mechington Mk2 strategy.
How to beat Buff Mechington Mk2 in Signs of Life: the glowing weak points, head-tail-chest order, the three-second chest window and co-op tactics.
How Signs of Life co-op works: Steam friend hosting, drop-in play, character transfer, shared storage, PvP settings and role splits for two players.
How the Signs of Life colony works: Pioneer Station computer, room requirements, colonist jobs, Pneumail storage and new-world requirements.