
Signs of Life Buff Mechington Mk2: Weak Points and Strategy
How to beat Buff Mechington Mk2 in Signs of Life: the glowing weak points, head-tail-chest order, the three-second chest window and co-op tactics.
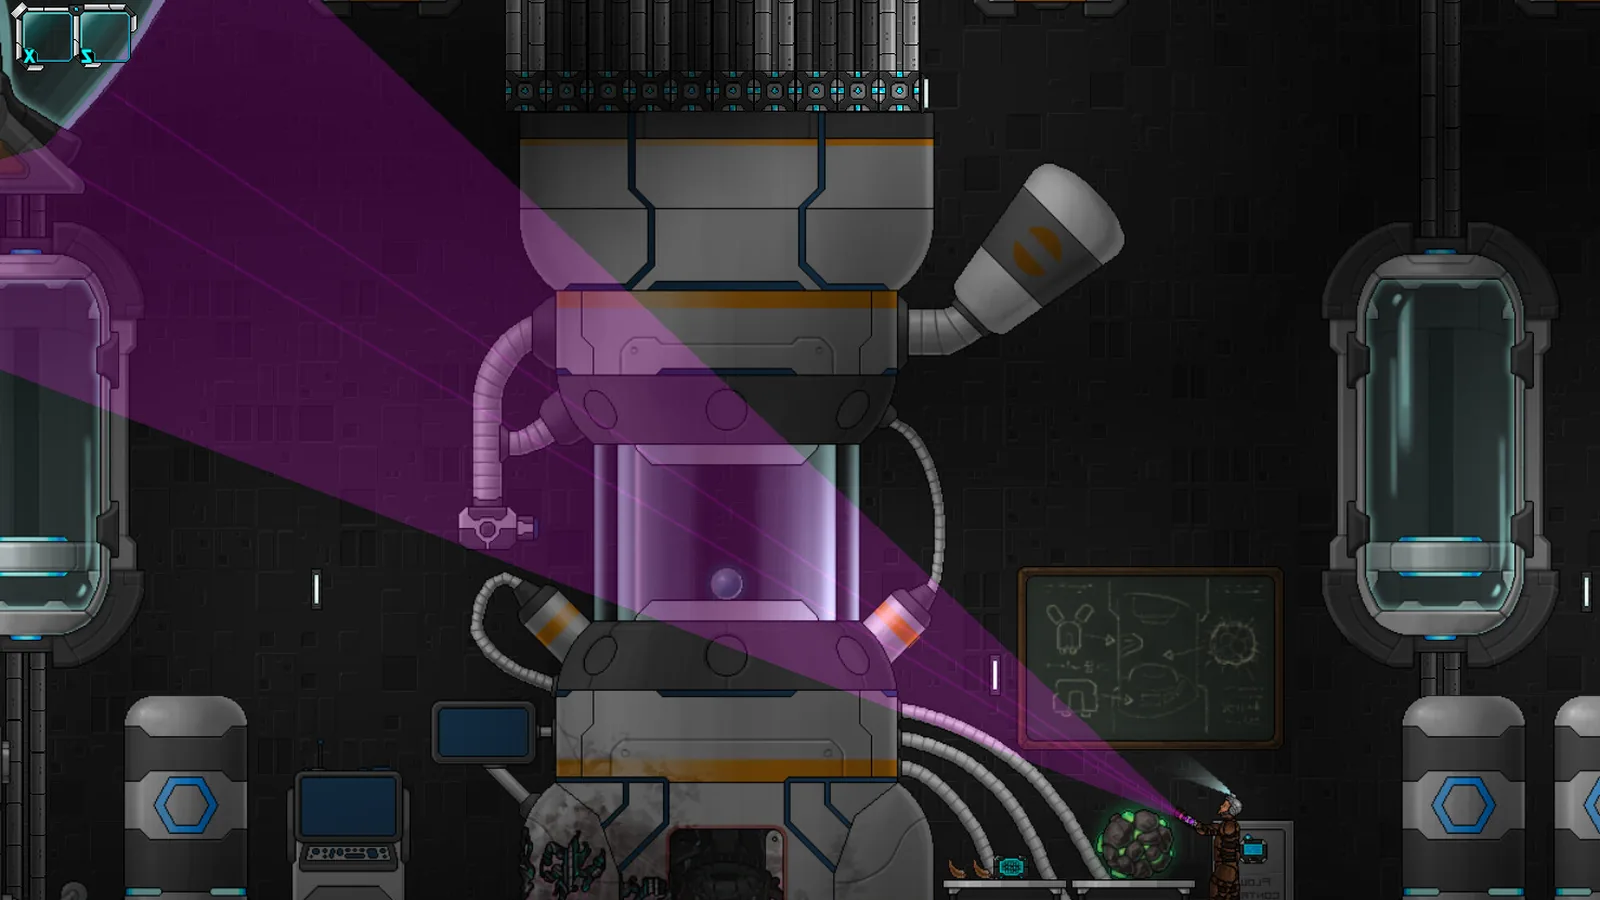
Head first, then tail, then chest. The chest window is only about three seconds, so save your burst for it.
Buff Mechington Mk2 is the hardest optional fight in Signs of Life. It is a giant robotic chicken with 9,999,999 health, 50 melee damage and armour that shrugs off almost everything. The fight is not a damage race. It is a weak-point puzzle with a very short window.
This guide covers the pattern, the three weak points, the gear you need and the mistakes that make the fight feel impossible.
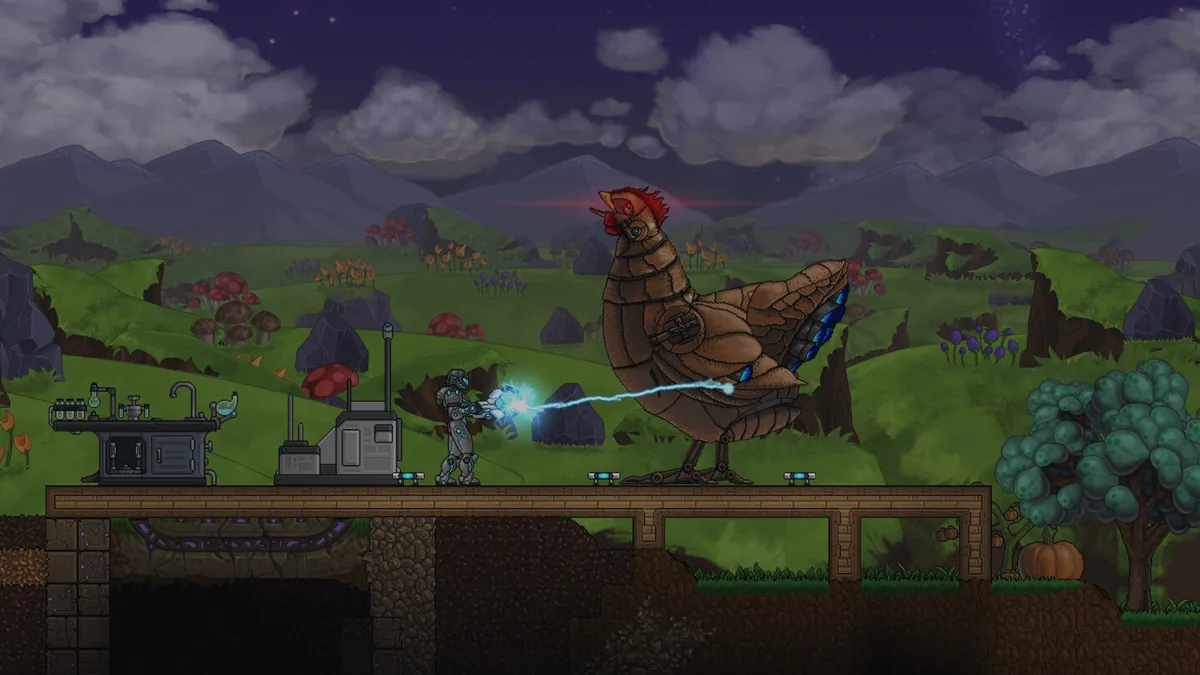
The Mk2's green weak points are the only real damage window.
The short version
- Do not shoot the armour.
- Wait for a glowing green section to open.
- Break the head first, then the tail, then the chest.
- During the chest attack, dodge and then unload into the open chest for about three seconds.
- Repeat until the core is exposed.
If you are dying before the first weak point opens, the problem is your positioning, not your damage.
Stats and what they mean
The official wiki lists:
- Health: 9,999,999
- Melee damage: 50
- Category: Robotic
- Scan description: an upgraded giant machine chicken with near-impervious armour and glowing green weak points.
The health number is not a real damage target. You are not meant to grind 9,999,999 points off the armour. The weak-point hits are the progress bar. Treat each exposed part as a phase.
The 50 melee damage is the real threat. At late-game armour values, a clean hit still hurts, and two hits in a row can end the attempt. Do not trade hits to get one more shot.
The three weak points
Head
The head is the first target. It opens during the forward attacks. Shoot the glowing green section, then reposition before the next swing.
Why the head first: it removes a damage source and makes the later phases safer. The fight gets easier as the head stops attacking.
Tail
The tail is the second target. It opens when the Mk2 turns or sweeps. Circle to the side, hit the exposed tail, and get out before the body follows.
Do not stand directly behind the boss for the whole fight. The tail sweep is designed to punish that.
Chest
The chest is the final and most important weak point. It opens after the chest attack, and the patch notes describe a three-second fully open window.
That window is your damage phase. Save your burst for it. If you are reloading when the chest opens, you lose the attempt's best opportunity.
The fight flow
Phase 1: bait the head
Stay at mid-range and bait the forward attack. When the head glows, hit it. Do not chase the boss; let it come to you.
If the head does not open, you are standing too far away or too far to the side. Adjust your position.
Phase 2: take the tail
Once the head is broken, the fight shifts to the tail. Keep circling, but stay out of the body's turn radius. Hit the tail when it sweeps, then reset.
Phase 3: the chest window
The chest attack is the most dangerous move. Dodge it, then immediately turn and fire into the open chest. Three seconds is enough for a burst weapon or a charged shot, not enough for a panicked reload.
Phase 4: finish
When the weak points are broken, the core is exposed. Keep the same discipline: hit the open section, do not attack the armour, and do not celebrate early. The boss can still kill you in one bad trade.
Best weapons
Bring:
- A high-sustained-damage ranged weapon.
- A burst option for the three-second window.
- Plenty of ammo.
- A melee backup for emergencies, not as a plan.
Energy weapons are a good fit if you have them; the 1.0 patch fixed several energy weapon behaviours, including the Energy Glove's secondary attack and the Burst Rifle's three-round burst. The weapons guide→ covers the full progression.
Do not bring an explosive weapon with a long reload. The window is short and self-damage in a small arena is a real risk.
Best armour
You need melee resistance and enough mobility to dodge. The armor guide→ covers the sets, but the short version:
- Ghost Hide reflects two damage and is useful if you expect to be hit.
- Energy Plate's force field recharges over time and rewards disengaging.
- Steel Combat is the reliable mid-late set.
Do not wear a mining suit to a boss fight. The stats are wrong for it.
Arena tips
- Fight in the open, not in a corner.
- Keep a clear escape lane behind you.
- Do not stand under the boss.
- Use the arena's space to reset after each window.
- If the boss corners you, dodge through the legs rather than backing into a wall.
Co-op strategy
Two players make the fight much easier, but only if you split roles:
- Bait player: holds aggro, calls the weak-point window, does not greed for damage.
- Damage player: saves burst for the head/tail/chest, reloads between windows.
- Shared rule: both players attack the same weak point. Splitting damage across two armour plates wastes the window.
If one player dies, the other should disengage and revive rather than try to solo the phase. The boss does not reset, but a solo attempt with the wrong position usually does.
Common mistakes
Shooting the armour. The armour is not a health bar. If the hit marker is grey, you are wasting ammo.
Reloading during the chest window. Reload before the chest attack, not after it.
Standing behind the boss. The tail sweep is designed for that.
Bringing a slow weapon. The window rewards burst, not a long wind-up.
Fighting in a corner. You need a dodge lane.
Ignoring the adds. If the arena has adds, clear them before the next weak-point phase.
Rewards and why fight it
The Mk2 is optional. The rewards are the challenge, the achievement progress for the Mechington family and bragging rights. In 1.0, defeating Buff Mechington Mk2 also allows Monstralorps to appear in New Earth, which is a reason to finish the fight if you want the full late-game ecosystem.
The regular Buff Mechington is the achievement fight for "Buff Wreckington". The Mk2 is the harder rematch. The achievements guide→ covers the achievement list.
Is the fight worth it?
Yes, if you enjoy pattern-based boss fights. No, if you are only following the story; the finale does not require the Mk2.
If you are undergeared, leave. The boss does not scale, and the arena will still be there after you craft a better weapon.
Official source: official wiki creature data for Buff Mechington Mk2, Update 27 patch notes (three-second weak-point window) and Steam community reports on the head-tail-chest order, checked 10 November 2026. Community tactics are labelled as such.
Sources and further reading
- Official wiki creatures ↗ - Buff Mechington Mk2 stats
- Update 27 patch notes ↗ - weak-point window and fixes
- Steam community discussion ↗ - head, tail, chest strategy
- Steam store page ↗ - game overview
FAQ
How much health does Buff Mechington Mk2 have?
The official wiki lists 9,999,999 health. The real progress comes from breaking the glowing weak points, not from damaging the armour.
What order should I break the weak points?
Head first, then tail, then chest. The chest opens for about three seconds after its attack.
What weapon should I use?
A high-sustained-damage ranged weapon with a burst option. Bring plenty of ammo and a melee backup.
Can I beat it in co-op?
Yes. One player baits and calls the window; the other saves burst damage for the exposed part.
Is Buff Mechington Mk2 required for the ending?
No. It is an optional late-game fight.
Related Signs of Life Guides
The major Signs of Life boss fights, the order to attempt them, gear checks and arena tips, plus a pointer to the Buff Mechington Mk2 strategy.
A practical Signs of Life weapons guide: early pistols, mid-game rifles and shotguns, energy weapons, melee tiers, ammo and the best picks for bosses.
How armor works in Signs of Life, the best early and late sets, Ghost Hide and Energy Plate bonuses, mining suits and co-op gear priorities.
Every major Signs of Life 1.0 change: the ending, Xenoid cities, colony management, rebalanced gear, controls and co-op fixes.
The Signs of Life achievement list with global unlock rates, the gemologist chain, the joke achievements and a practical completion route.
How the Signs of Life alien language works: scan inscriptions, build understanding, unlock Xenoid dialogue and extract seven archive records with AGIS.
More Signs of Life Guides
Automate a Signs of Life base with turrets, Pneumail shared storage, drone accessories and post-game colonist jobs, without wasting power.
How base building works in Signs of Life: valid room sizes, walls, doors, lighting, station layout and the mistakes that waste materials.
Choosing a Signs of Life base location: ore access, flat ground, biome hazards, story travel and the best spots for a first or late-game base.
Practical Signs of Life tips for new players: scan everything, manage stamina, build one good room, and avoid the early base traps.
A tour of Signs of Life biomes: grasslands, purple alien terrain, caves, ruins, Xenoid cities and the late-game New Earth areas.
How Signs of Life co-op works: Steam friend hosting, drop-in play, character transfer, shared storage, PvP settings and role splits for two players.
How the Signs of Life colony works: Pioneer Station computer, room requirements, colonist jobs, Pneumail storage and new-world requirements.
A Signs of Life crafting guide: work table tiers, furnace upgrades, hammer requirements, recipe chains and how to organise production.