
Signs of Life Armor Guide: Best Sets and Progressions
How armor works in Signs of Life, the best early and late sets, Ghost Hide and Energy Plate bonuses, mining suits and co-op gear priorities.
Signs of Life's armour is built around full sets and their bonuses. Crafting one piece of a late set is usually worse than completing a mid-tier set.
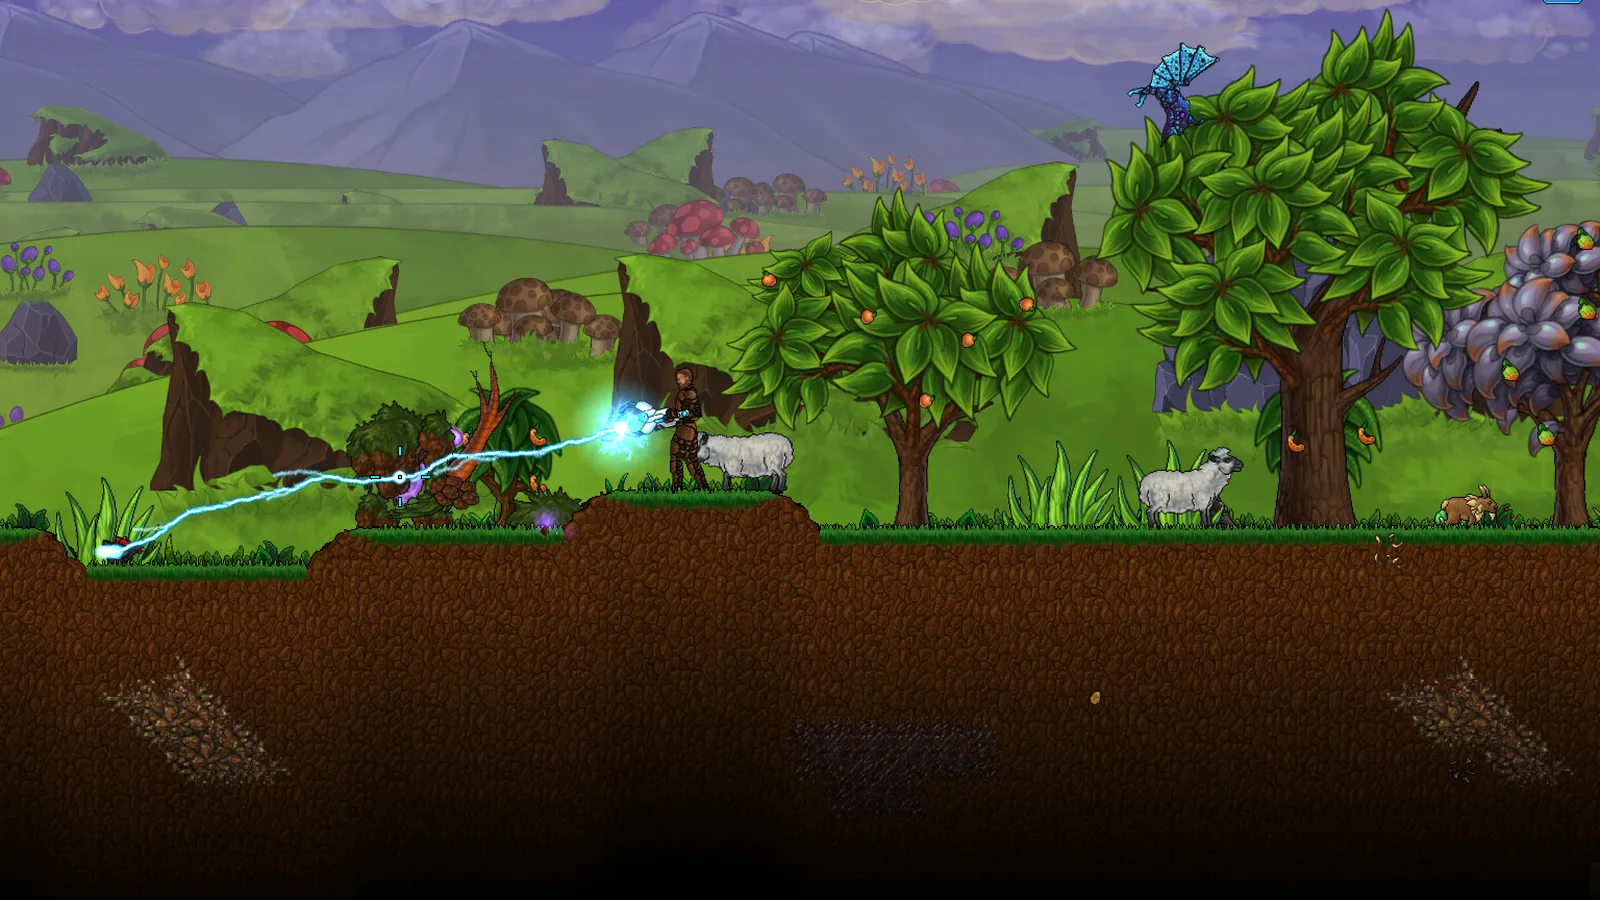
Armour is the quiet half of Signs of Life's combat progression. Weapons get the attention; armour decides whether you survive the first mistake. The official wiki lists 231 armour entries, from copper plates to energy force fields, but it does not publish defence numbers. That makes set identity more useful than a stat table.
This guide covers the sets, their bonuses, the progression path and the loadouts that work in caves, boss fights and co-op.
Complete sets matter more than single pieces.
How armour works
Armour is crafted, not looted. You mine the ore, process it and build the set at the workbench chain. Each set has a material identity and, for some sets, a special effect.
The wiki pages describe the sets rather than their numbers. The practical differences come from:
- The material tier (copper, bronze, iron, steel, alien).
- The set bonus.
- The weight and mobility trade-off.
- The environment you are entering.
Do not assume a higher-tier set is always better. A mining suit is better in a mine than a combat set, and Ghost Hide's reflect can outperform raw defence in a long fight.
The sets
Copper and bronze
The first craftable sets. They teach the armour chain and provide enough protection for the surface and shallow caves. Do not over-invest; you will replace them quickly.
Bone
A cheap early-mid set made from bone. It is a bridge between metal tiers and a reasonable choice if you are short on ore.
Bornite
A mid-game metal set. Bornite is one of the ore tiers, and the set is a reliable upgrade for players entering the deeper caves.
Ghost Hide
Ghost Hide is the first set with a memorable bonus: it reflects two damage back at attackers. That makes it excellent against fast, multi-hit enemies and surprisingly good in co-op, where the reflect adds up.
Use it when:
- You are fighting many small enemies.
- You expect to be hit often.
- You want a defensive set without giving up mobility.
Do not use it as your boss set unless the boss hits rapidly and lightly. A 50-damage mech punch is not a reflect fight.
Energy Plate
Energy Plate provides a low-tier force field that recharges over time. It rewards disengaging: take a hit, break line of sight, let the field recover, re-engage.
Use it when:
- You are exploring a dangerous zone with cover.
- You are learning a boss pattern and need a buffer.
- You play co-op and can rotate aggro.
Steel Combat
The reliable late-mid combat set. Steel Combat is the general-purpose pick for caves, ruins and most boss attempts until you have alien materials.
Hephaestus Mining Suit and Mining Suit Mk2
The mining suits are tools as much as armour. They support the mining loop and the Hephaestus/Prototype suit progression. In 1.0, the Prototype Mining Suit is no longer handed to you openly; it is hidden in the world, with a datapad in Dr. Hahn's lab pointing the way.
Use mining suits for:
- Ore runs.
- Cave exploration.
- Long sessions where inventory and mining speed matter.
Do not wear them to a boss fight unless you have no alternative.
Alien and late-game sets
Xenohide and Xenoid Alloy feed the late-game armour line. These sets are the payoff for exploring Xenoid territory and are the best general-purpose gear for the finale.
The Xenoid guide→ covers where the materials drop.
The progression path
Early game
- Craft copper or bronze pieces as you find ore.
- Complete the set before chasing a new tier.
- Keep a bone set as a cheap backup.
- Do not sell hide or bone; both feed later recipes.
Mid game
- Move to bornite or steel as your main set.
- Build Ghost Hide if you fight packs.
- Build Energy Plate if you are learning bosses.
- Upgrade the workbench chain alongside the armour.
Late game
- Craft the alien set from Xenohide and Xenoid Alloy.
- Keep a mining suit for resource runs.
- Keep a Ghost Hide or Energy Plate set for specific fights.
- Upgrade cybernetics and utility gear.
Armour and cybernetics
1.0 supports cybernetic implants such as the Cybernetic Eyes (Laser) and Cybernetic Stomach (Regurgitator), and it fixed Optical Camouflage so it works with implanted mechanical arms and legs.
These are equipment choices, not armour sets, but they change how you build a character. The laser eyes give you a built-in weapon; the regurgitator gives you a utility option. Test them before a boss fight, not during one.
Best armour by role
Best general set
Steel Combat for the mid-game, the alien set for the late game. Reliable, repairable and appropriate for most content.
Best defensive set
Energy Plate if you can disengage; Ghost Hide if you expect many small hits.
Best mining set
Hephaestus Mining Suit or Mining Suit Mk2. The mining bonuses matter more than the defence.
Best co-op set
Ghost Hide or Energy Plate. Both reward the rotate-and-recover rhythm of a two-player fight.
Best boss set
The alien set if you have it; Steel Combat if you do not. Do not bring a mining suit.
Co-op armour roles
In co-op, armour is a role signal:
- The player in heavy armour holds aggro.
- The player in lighter armour flanks and revives.
- Both players should carry a backup set if the world allows it.
Do not both wear the same glass-cannon setup. One mistake ends the attempt.
Common armour mistakes
Crafting one piece of a late set. Finish the set you have before starting a new tier.
Wearing a mining suit to a fight. The stats are wrong for combat.
Ignoring set bonuses. Ghost Hide and Energy Plate are defined by their effects.
Selling hide and bone. Both feed mid and late recipes.
Skipping repairs. A broken set is worse than a lower-tier set.
Which armour should you craft first?
Complete the copper or bronze set, then move to steel. Build Ghost Hide or Energy Plate as a specialist set, and save alien materials for the late-game set. The weapons guide→ covers the offensive side, and the bosses guide→ covers the fights where armour matters most.
Official source: official wiki armour index, Steam store page and Updates 26-27 patch notes, checked 10 November 2026. The wiki does not publish defence numbers; this guide avoids inventing them.
Sources and further reading
- Official wiki armour ↗ - 231 armour entries
- Official wiki recipes ↗ - set ingredients
- Update 26 patch notes ↗ - prototype mining suit
- Update 27 patch notes ↗ - cybernetics fixes
FAQ
What is the best armor in Signs of Life?
The alien set made from Xenohide and Xenoid Alloy is the late-game best. Steel Combat is the reliable mid-game set.
Does armor have set bonuses?
Some sets do. Ghost Hide reflects two damage, and Energy Plate provides a recharging force field.
Should I wear a mining suit in combat?
No. Use it for mining and exploration; switch to a combat set for bosses.
Can I upgrade armor?
You craft new tiers through the workbench chain rather than upgrading a single piece indefinitely.
Related Signs of Life Guides
A practical Signs of Life weapons guide: early pistols, mid-game rifles and shotguns, energy weapons, melee tiers, ammo and the best picks for bosses.
The major Signs of Life boss fights, the order to attempt them, gear checks and arena tips, plus a pointer to the Buff Mechington Mk2 strategy.
Where to find every major Signs of Life resource: copper, iron, coal, titanium, Xenohide, plant fiber and the materials behind each crafting tier.
Every major Signs of Life 1.0 change: the ending, Xenoid cities, colony management, rebalanced gear, controls and co-op fixes.
The Signs of Life achievement list with global unlock rates, the gemologist chain, the joke achievements and a practical completion route.
How the Signs of Life alien language works: scan inscriptions, build understanding, unlock Xenoid dialogue and extract seven archive records with AGIS.
More Signs of Life Guides
Automate a Signs of Life base with turrets, Pneumail shared storage, drone accessories and post-game colonist jobs, without wasting power.
How base building works in Signs of Life: valid room sizes, walls, doors, lighting, station layout and the mistakes that waste materials.
Choosing a Signs of Life base location: ore access, flat ground, biome hazards, story travel and the best spots for a first or late-game base.
Practical Signs of Life tips for new players: scan everything, manage stamina, build one good room, and avoid the early base traps.
A tour of Signs of Life biomes: grasslands, purple alien terrain, caves, ruins, Xenoid cities and the late-game New Earth areas.
How to beat Buff Mechington Mk2 in Signs of Life: the glowing weak points, head-tail-chest order, the three-second chest window and co-op tactics.
How Signs of Life co-op works: Steam friend hosting, drop-in play, character transfer, shared storage, PvP settings and role splits for two players.
How the Signs of Life colony works: Pioneer Station computer, room requirements, colonist jobs, Pneumail storage and new-world requirements.