
Signs of Life Power Guide: Batteries, Fuel Cells and Cores
How power works in Signs of Life: wireless batteries, fuel cells, battery chargers, power cores and the colony's powered operations computer.
The game gives you several ways to store and move energy. The hard part is not generating it; it is keeping the right device charged at the right base.
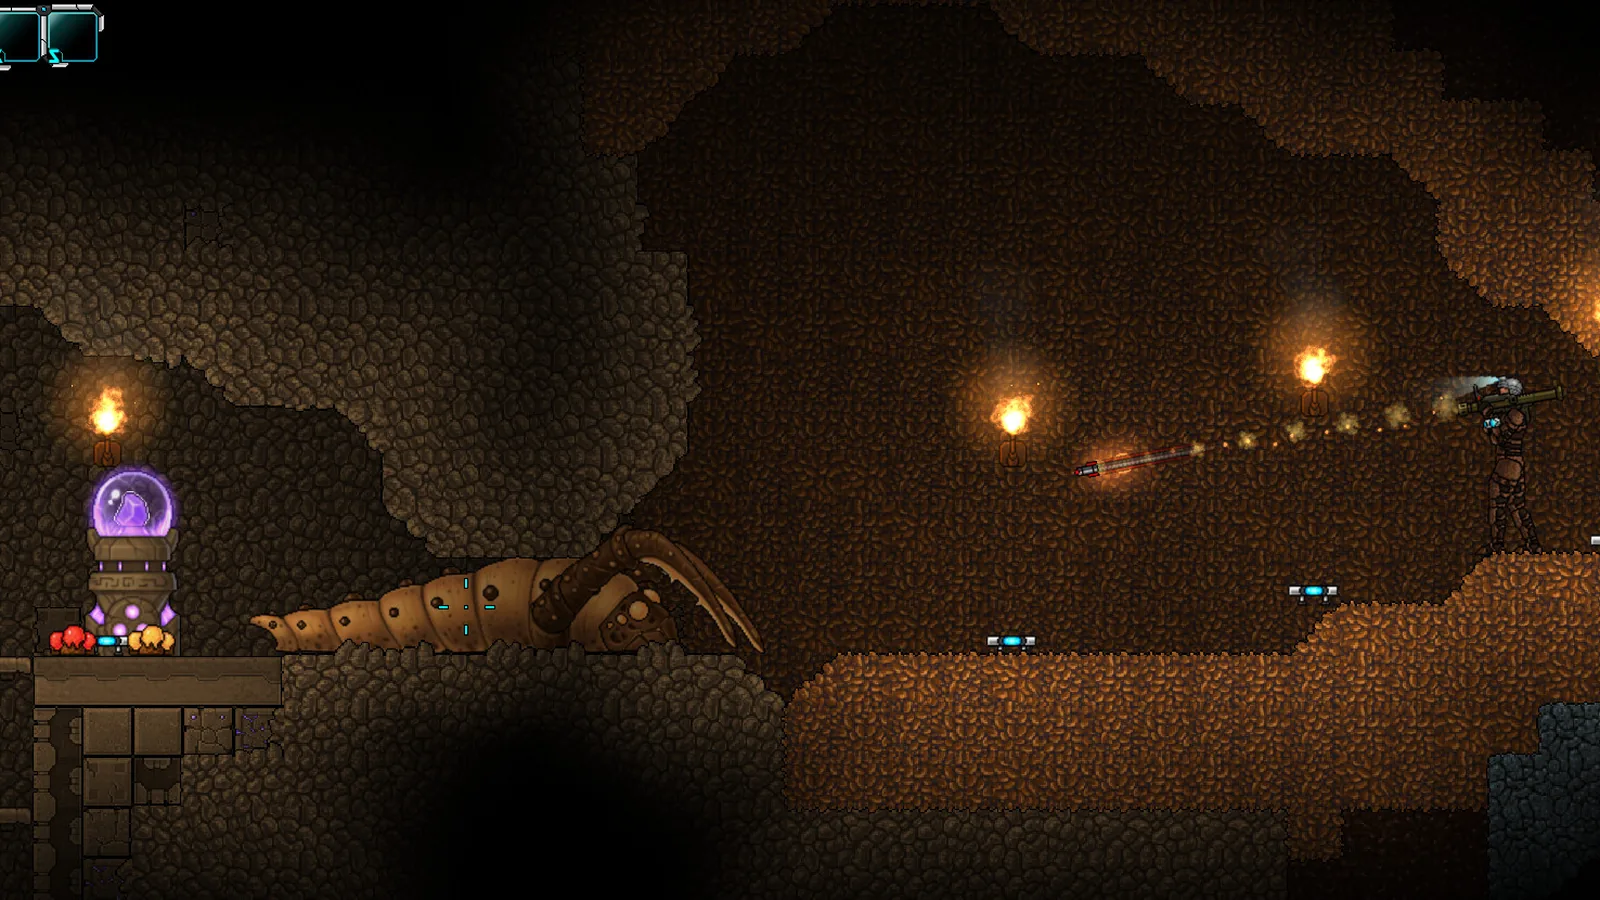
Power in Signs of Life is not a single meter with a single generator. It is a set of devices: wireless batteries, fuel cells, chargers, power cores and the powered systems of the colony. The official wiki documents the items but does not publish a single unified power budget, so the practical advice is to build a small, redundant system rather than chasing one perfect setup.
This guide covers what is confirmed, what is uncertain, and how to plan a base that does not stall when a battery runs dry.
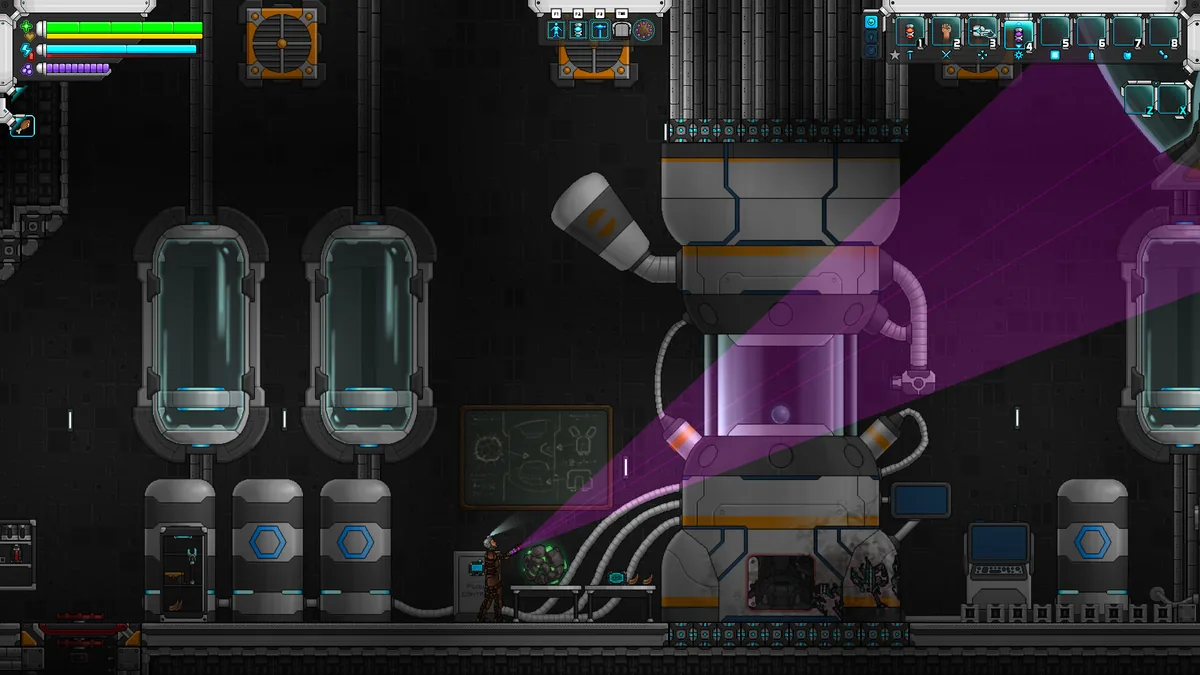
Power is a chain, not a single generator.
The confirmed power devices
Wireless Battery
The Wireless Battery stores 1,000 energy and recharges at 10 energy per second. That is the clearest power statistic in the game's documentation. It is enough for field equipment and small outposts, but it is not an infinite grid.
Treat 1,000 energy as a buffer, not a budget. If a device drains faster than 10 per second, the battery will empty even while charging. For sustained use, pair it with a charger or a larger power source.
Fuel Cell
Fuel cells come in empty and full forms:
- Empty Fuel Cell: 1 plastic, 1 copper wire, 1 aluminium ingot.
- Full Fuel Cell: empty cell + 1 blue fruit + 1 coal + 1 lye.
The full cell charges MEG batteries. That makes fuel cells a portable energy supply for expeditions, not just a base component. Carry a spare empty cell and the inputs if you plan a long trip away from power.
Battery Charger
The Battery Charger refills batteries and cells at a base. Place it in the same room as your power storage so you can rotate depleted batteries through it. A charger without a power source is a shelf; build the source first.
Power Core and Power Compartment Panel
Power Cores and Power Compartment Panels appear in the game's item and structure data, and players discuss them in the context of powered rooms and late-game bases. The official wiki does not expose a simple "this core produces X energy" table, so do not plan around a number you saw in a video.
The safe approach: build the panel, install the core, and test with a single device before connecting a whole room. If the device runs, scale up. If it does not, the core or the room connection is the problem.
Fusion Reactor
A Fusion Reactor appears in late-game and New Game+ discussions. It is an endgame power structure, not a first-week build. If you find one in a ruin, scan it and note the location; do not try to power your starter base from it.
Power in the colony
The post-game colony adds a powered operations computer at the Pioneer Station. That computer is the interface for thawing colonists and assigning jobs. Without power, the colony layer does not function.
The colony also uses rooms that must meet the 8 by 4 minimum and include background walls, a bed, a door or hatch, and a working light. A powered room is therefore both a construction project and an energy project. Build the room first, then connect power, then assign colonists.
Colonists produce goods into Pneumail shared storage. That means the colony's power system is part of a chain: power -> room -> colonist -> production -> storage. If one link fails, the output stops.
A practical power plan
Stage 1: field power
- One Wireless Battery for the grabber and field devices.
- One full Fuel Cell for long expeditions.
- A Campfire and torches for light; do not drain a battery on static lighting.
Stage 2: workshop power
- A Battery Charger in the workshop.
- A second Wireless Battery kept charged as a spare.
- Powered lights only in rooms that need them.
- A dedicated power chest for cells, wire and components.
Stage 3: colony power
- A Power Core or Power Compartment Panel for the colony room.
- The powered operations computer at the Pioneer Station.
- A backup battery for the room's lights and stations.
- A fuel cell reserve for emergencies.
This is deliberately modest. A large power plant is impressive, but a colony that loses power during a job cycle is worse than a small system that never fails.
How to troubleshoot a dead device
- Check the battery. Is it empty, or is it discharging faster than it charges?
- Check the charger. Is it powered, and is the battery actually seated in it?
- Check the room. A device in an invalid room may not receive power or may not count as part of the colony.
- Check the connection. Power cores and panels need to be connected to the device or room. A core in a chest is not a power source.
- Check the fuel cell. A full cell is consumed; an empty cell is not a battery.
- Check the game version. Power recipes and behaviours changed across Updates 25-27. A guide written for an older build may be wrong.
Power and automation
Turrets, powered doors and colony stations all compete for the same energy. If you build a defensive ring, put it on a separate battery from the colony room. That way a turret drain does not stop colonist production, and a colony shutdown does not disable your defences.
The automation guide→ covers turrets and colony jobs. The colonists guide→ covers room assignment and production.
What not to do
Do not build a giant power plant before you have a use for it. Power is only useful when it runs a station or a room.
Do not run lights from a field battery. Static lights should use the base's power, not the battery you carry to a dungeon.
Do not trust a single video for power numbers. The wiki is incomplete, and builds change. Test in your own world.
Do not put the charger far from the batteries. You will forget to rotate them.
Do not ignore the fuel cell chain. Blue fruit, coal and lye are easy to gather, and a full cell is a portable top-up.
A note on missing numbers
The official wiki lists power-related items, but many detail pages do not include generation or consumption rates. This guide therefore avoids inventing a wattage table. Where a number is confirmed, it is stated; where it is not, the advice is procedural: build small, test one device, and scale.
That approach is slower than copying a build guide, but it is more reliable across patches and world types.
Official source: Official Signs of Life wiki item data, Update 25 patch notes (fuel cells, wireless battery), Update 27 patch notes (powered operations computer), checked 10 November 2026.
Sources and further reading
- Update 25 patch notes ↗ - fuel cell and battery details
- Update 27 patch notes ↗ - powered colony computer
- Official wiki ↗ - item and structure reference
- Steam store page ↗ - game overview
FAQ
How much energy does a Wireless Battery hold?
1,000 energy, and it recharges at 10 energy per second.
How do I make a full Fuel Cell?
Craft an empty cell from plastic, copper wire and an aluminium ingot, then combine it with a blue fruit, coal and lye.
What powers the colony?
A powered operations computer at the Pioneer Station, connected to the colony's power system.
Why is my powered device not working?
Check the battery charge, the charger, the room validity and the connection. If all four are fine, test the device in a fresh room.
Related Signs of Life Guides
Automate a Signs of Life base with turrets, Pneumail shared storage, drone accessories and post-game colonist jobs, without wasting power.
A Signs of Life crafting guide: work table tiers, furnace upgrades, hammer requirements, recipe chains and how to organise production.
How the Signs of Life colony works: Pioneer Station computer, room requirements, colonist jobs, Pneumail storage and new-world requirements.
Every major Signs of Life 1.0 change: the ending, Xenoid cities, colony management, rebalanced gear, controls and co-op fixes.
The Signs of Life achievement list with global unlock rates, the gemologist chain, the joke achievements and a practical completion route.
How the Signs of Life alien language works: scan inscriptions, build understanding, unlock Xenoid dialogue and extract seven archive records with AGIS.
More Signs of Life Guides
How armor works in Signs of Life, the best early and late sets, Ghost Hide and Energy Plate bonuses, mining suits and co-op gear priorities.
How base building works in Signs of Life: valid room sizes, walls, doors, lighting, station layout and the mistakes that waste materials.
Choosing a Signs of Life base location: ore access, flat ground, biome hazards, story travel and the best spots for a first or late-game base.
Practical Signs of Life tips for new players: scan everything, manage stamina, build one good room, and avoid the early base traps.
A tour of Signs of Life biomes: grasslands, purple alien terrain, caves, ruins, Xenoid cities and the late-game New Earth areas.
The major Signs of Life boss fights, the order to attempt them, gear checks and arena tips, plus a pointer to the Buff Mechington Mk2 strategy.
How to beat Buff Mechington Mk2 in Signs of Life: the glowing weak points, head-tail-chest order, the three-second chest window and co-op tactics.
How Signs of Life co-op works: Steam friend hosting, drop-in play, character transfer, shared storage, PvP settings and role splits for two players.