
Signs of Life Beginner Tips: Survive Your First Week
Practical Signs of Life tips for new players: scan everything, manage stamina, build one good room, and avoid the early base traps.
A small, lit room with a work table, furnace and chests will carry you through the first ten hours. A decorative fortress will not.
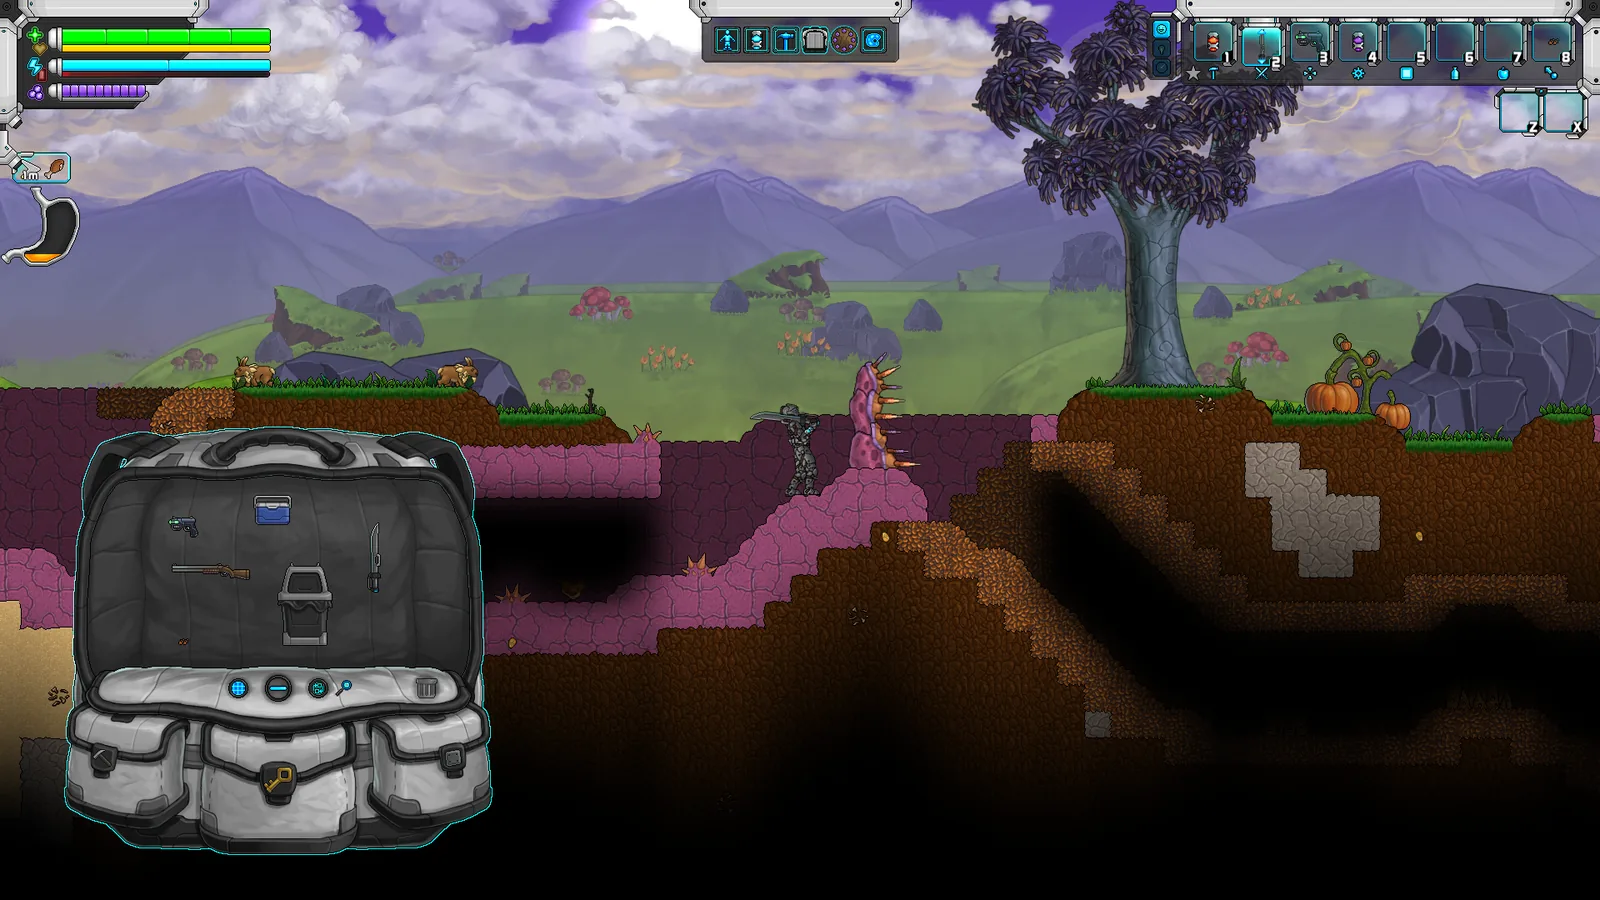
Signs of Life rewards preparation more than speed. The opening area gives you enough ore and food to get started, but it does not explain which systems matter first. These tips are ordered by how much time they save, not by how impressive they look in a screenshot.
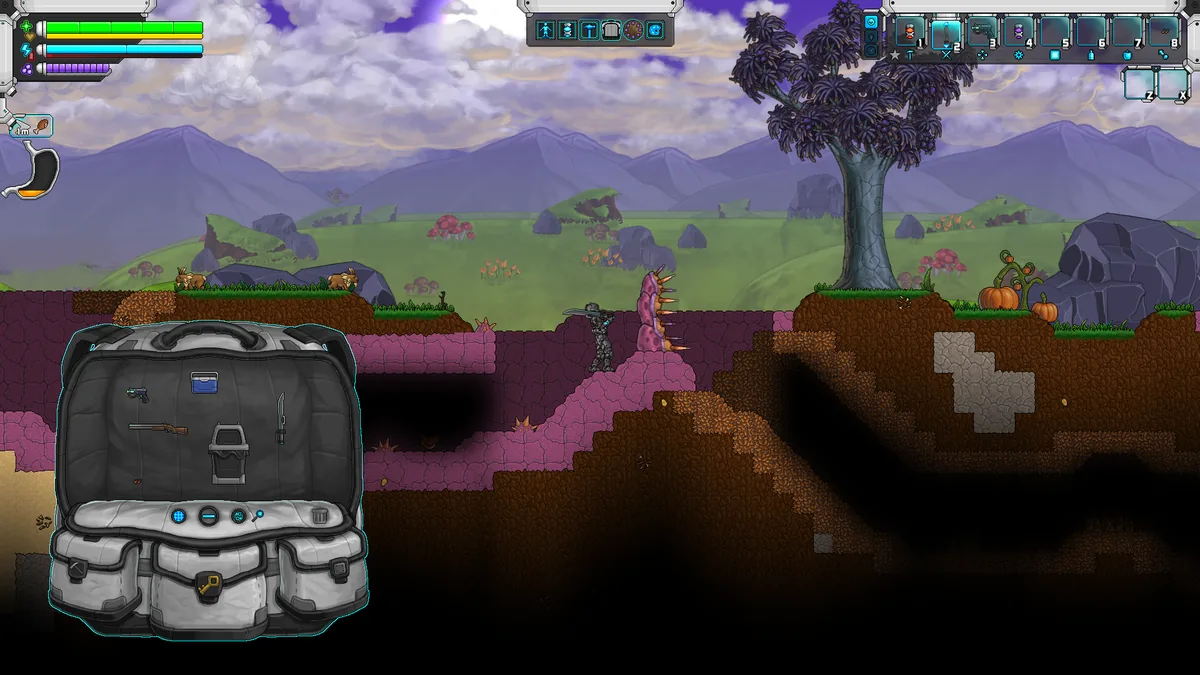
The first week is about stock, light and a safe route home.
1. Pick up the grabber immediately
The extendable metal grabber is installed in the Mining Base to the right of your spawn point. It replaced the old grappling hook in Update 25, and it is easy to walk past during the wake-up sequence. The grabber lets you cross gaps, pull distant items and reach ledges before you have better movement gear.
If you have already left the base, go back. The grabber is not a cosmetic upgrade; it is part of the intended traversal kit for the early ruins.
2. Scan before you smash
Scanning alien inscriptions, datapads, creatures and structures fills the MEG journal and unlocks context for recipes and story steps. New players often treat scanning as optional lore. It is closer to a quest log.
Three habits pay off:
- Scan every new creature once, even if you run away.
- Scan datapads before selling or storing them.
- Scan the outside and inside of a ruin before mining its walls.
The MEG records journal entries, creature entries, structure entries and datapad notes automatically. When you are lost, the journal is a better clue than a map marker.
3. Do not strip-mine the surface on day one
The surface has enough copper, tin and coal to get your first tools, but the deeper ores require better equipment and light. Early strip mining burns stamina and leaves you with a hole you cannot safely cross.
Instead, follow the natural cave entrances near the Mining Base and take the exposed nodes. Carry torches, place them as you go, and turn back when your inventory is half full. A short trip with 30 useful ore beats a long trip with 80 stone.
The resources guide→ explains which ores belong to which depth band and which ones are worth a dedicated expedition.
4. Craft the hammer tier before you need it
Several recipes require a hammer as a crafting ingredient, not just a tool in your hand. The Iron Hammer costs two iron ingots and the Steel Hammer costs one steel ingot. If you wait until a recipe demands one, you will make two trips.
The same logic applies to work tables. Upgrade the Basic Work Table as soon as the next tier is available. A better table unlocks recipes that make every later step cheaper.
5. Watch stamina, not just health
Update 25 changed pickaxe swings to cost five stamina each. That is a meaningful cost when you are mining a long tunnel. Food occupies its own HUD slot, so eat before a mining trip rather than during a fight.
Practical stamina rules:
- Mine in short bursts and let stamina recover while you move ore to storage.
- Do not sprint to a mining site you will need to sprint away from.
- Keep one stack of cooked food in the food slot at all times.
- Build a bed early; it gives you a reliable respawn point and a way to pass dangerous nights.
6. Build one valid room first
Signs of Life validates rooms for colony purposes. A room needs an interior at least eight tiles wide and four tiles high, no larger than 32 by 16 tiles, with background walls, a bed, a door or hatch, and a working light.
You do not need to satisfy the colony rule on day one, but building with it in mind saves a rebuild. Put your first room near the Mining Base, add background walls, a door and a light, and use it for the work table, furnace and storage.
The base building guide→ has the full room checklist and station layout.
7. Separate storage by production stage
A single chest becomes chaos by the second hour. Use at least three containers:
- Raw materials: ore, wood, plant fiber, hide, bone.
- Crafting intermediates: ingots, boards, plates, wire.
- Gear and exploration loot: weapons, armour, datapads, alien items.
In co-op, label the containers or use separate rooms. Shared storage is convenient until someone empties the ingot chest to make a sword.
8. Learn the combat rhythm before the first boss
Early enemies telegraph their attacks. The correct response is usually to step out of range, let the attack finish, then hit the exposed side. This matters most against armoured robots, where hitting the shell does almost nothing.
Practice on common surface enemies until you can fight without backpedalling into a wall. The weapons guide→ covers which weapon classes are comfortable early, and the bosses page→ lists the fights in order.
9. Do not ignore the Pioneer Station
The Pioneer Station is not just a story location. It contains labs, datapads and equipment that point you toward the Prototype Mining Suit and the late-game route. Update 26 hid the suit pieces behind furniture in new worlds and put a datapad in Dr. Hahn's lab to point you in the right direction.
Search rooms thoroughly before leaving. A piece of furniture that looks decorative may be covering an upgrade.
10. Decide who hosts before building a shared base
Co-op worlds are host-owned. The host must be online, and the host saves building and terrain changes. If you build a shared base in someone else's world, that world is the base. There is no server transfer.
For a two-player run, this is fine. For a group, agree on a host and a play schedule before investing in a large colony. The co-op guide→ covers roles and storage etiquette.
11. Use the MEG map, but do not trust it blindly
The MEG map shows explored terrain and markers, not every secret. Hand-built locations such as labs, ruins and Xenoid cities are the places worth revisiting with better gear. If a marker looks like a plain structure, scan it before writing it off.
The map guide→ explains what the map does and does not show.
12. Keep one save before the point of no return
Signs of Life has an ending and credits. Before you commit to the final sequence, copy your world save or start a manual backup. That lets you finish the story, then return to colony management or a co-op session without replaying the entire campaign.
Official source: Sweet Dog Studios patch notes for Updates 25-27 and the 1.0 release, plus the official wiki, checked 10 November 2026.
Sources and further reading
- Signs of Life on Steam ↗ - official feature list and release information
- Update 27 patch notes ↗ - colony rooms, controls and co-op fixes
- Update 25 patch notes ↗ - grabber, stamina, MEG and instruments
- Official wiki ↗ - recipe and structure reference
FAQ
What should I build first in Signs of Life?
A Basic Work Table, a Campfire and a small room with background walls, a door, a light and chests. Add a furnace as soon as you have ore.
How do I get the grabber?
It is installed in the Mining Base to the right of the spawn point. Return there if you missed it during the opening.
Is stamina important early?
Yes. Pickaxe swings cost stamina, and sprinting drains it. Eat before mining trips and mine in short sessions.
Can I move my base in co-op?
Not as a supported feature. The host owns the world save, so treat the host's world as the permanent location.
Related Signs of Life Guides
A complete Signs of Life guide for 1.0: first-hour route, base building, crafting, co-op, Xenoid story and the post-game colony.
Where to find every major Signs of Life resource: copper, iron, coal, titanium, Xenohide, plant fiber and the materials behind each crafting tier.
How base building works in Signs of Life: valid room sizes, walls, doors, lighting, station layout and the mistakes that waste materials.
Every major Signs of Life 1.0 change: the ending, Xenoid cities, colony management, rebalanced gear, controls and co-op fixes.
The Signs of Life achievement list with global unlock rates, the gemologist chain, the joke achievements and a practical completion route.
How the Signs of Life alien language works: scan inscriptions, build understanding, unlock Xenoid dialogue and extract seven archive records with AGIS.
More Signs of Life Guides
How armor works in Signs of Life, the best early and late sets, Ghost Hide and Energy Plate bonuses, mining suits and co-op gear priorities.
Automate a Signs of Life base with turrets, Pneumail shared storage, drone accessories and post-game colonist jobs, without wasting power.
Choosing a Signs of Life base location: ore access, flat ground, biome hazards, story travel and the best spots for a first or late-game base.
A tour of Signs of Life biomes: grasslands, purple alien terrain, caves, ruins, Xenoid cities and the late-game New Earth areas.
The major Signs of Life boss fights, the order to attempt them, gear checks and arena tips, plus a pointer to the Buff Mechington Mk2 strategy.
How to beat Buff Mechington Mk2 in Signs of Life: the glowing weak points, head-tail-chest order, the three-second chest window and co-op tactics.
How Signs of Life co-op works: Steam friend hosting, drop-in play, character transfer, shared storage, PvP settings and role splits for two players.
How the Signs of Life colony works: Pioneer Station computer, room requirements, colonist jobs, Pneumail storage and new-world requirements.