
Signs of Life Automation: Turrets, Pneumail and Colony Jobs
Automate a Signs of Life base with turrets, Pneumail shared storage, drone accessories and post-game colonist jobs, without wasting power.
Turrets and Pneumail help a mid-game base. Real production automation arrives with the colony system after the main story.
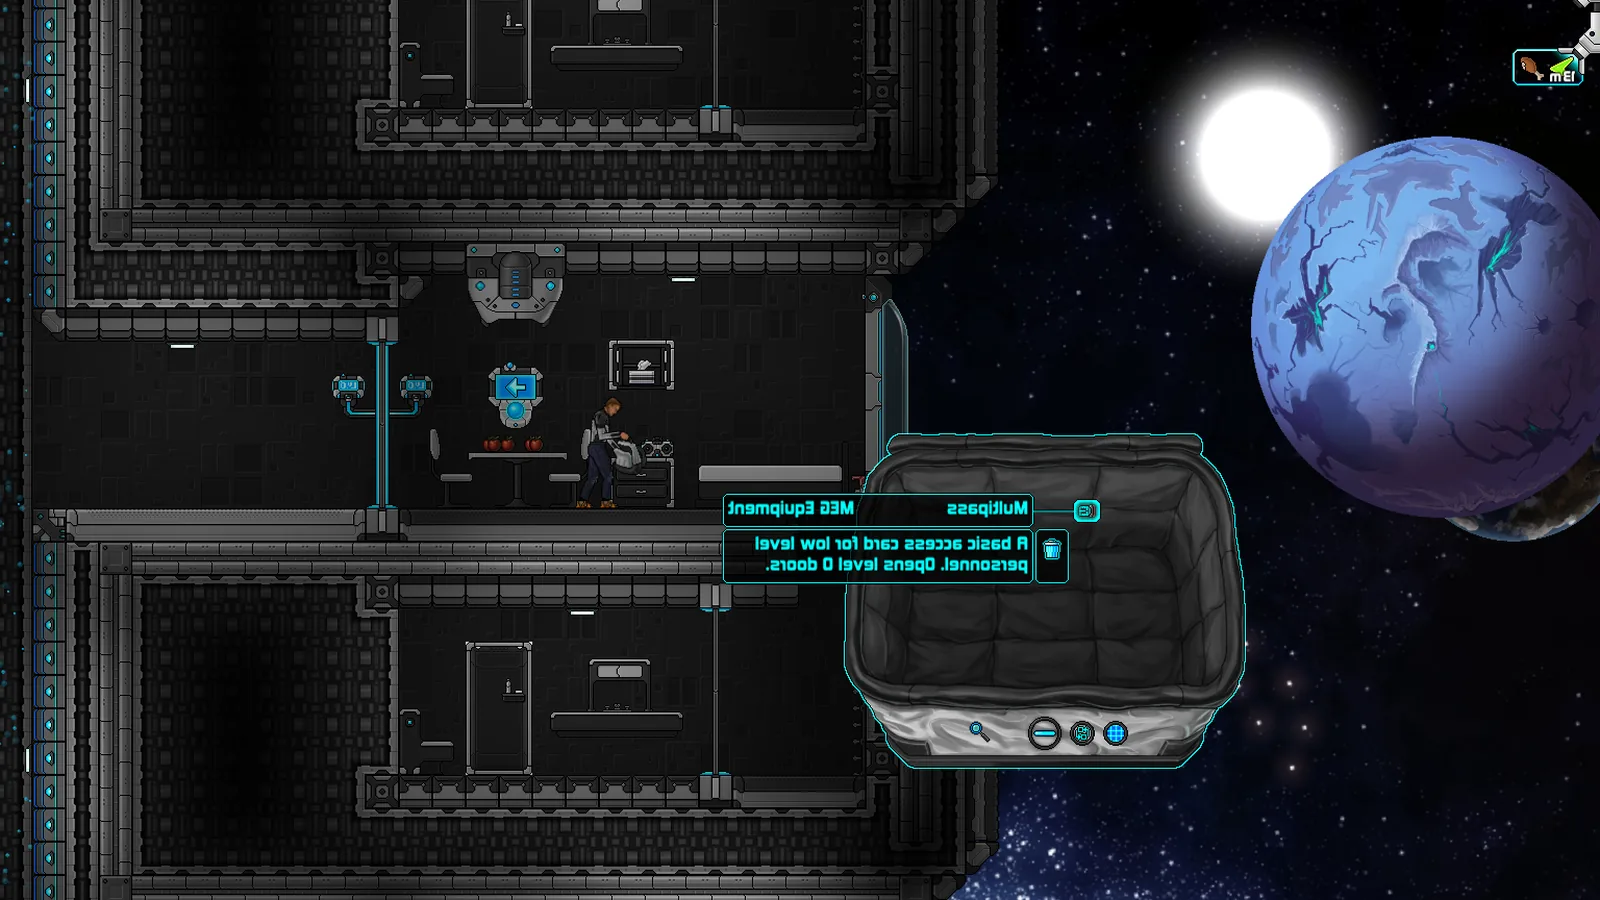
Signs of Life is a hands-on survival game for most of its runtime. You mine the ore, carry it home, smelt it and craft the tool. Automation does not replace that loop until the post-game colony, where colonists take over gathering and production jobs.
That does not mean automation is irrelevant earlier. Turrets protect a base, Pneumail moves goods, and drone accessories add firepower. This guide separates the three layers so you do not build a factory before you have a workshop.
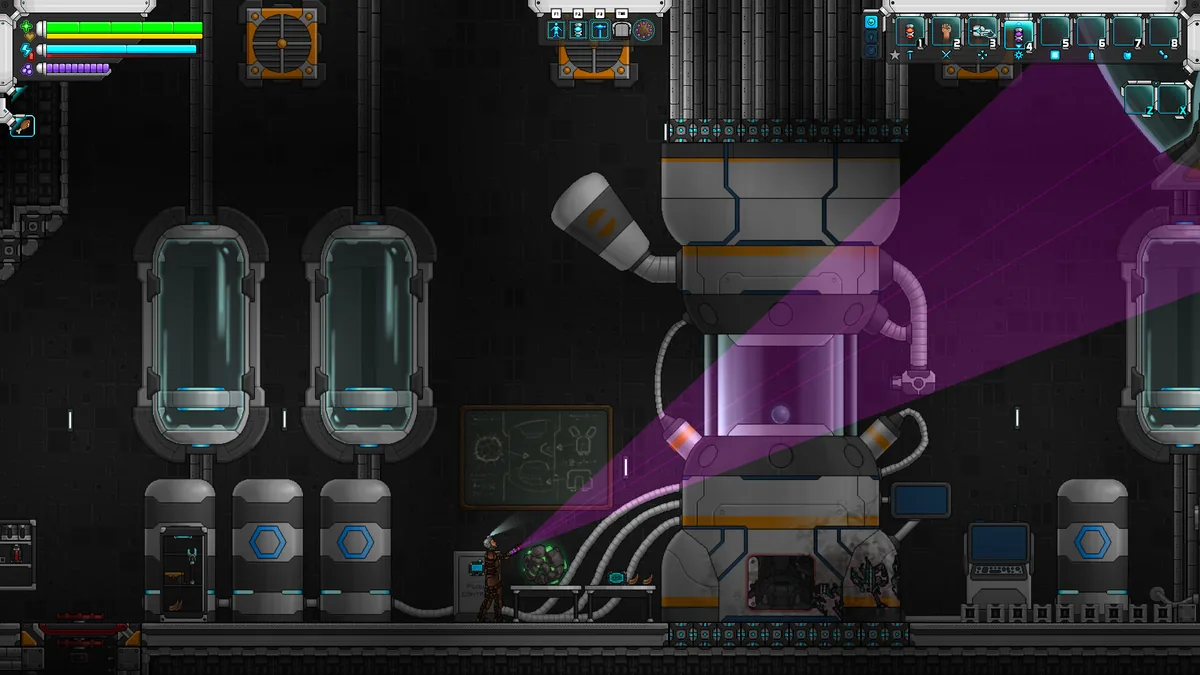
Automation starts with repeatable inputs, not with the whole factory.
Layer 1: defensive automation
Turrets are the earliest form of automation most players build. Update 26 changed steel turrets to rotate a full 360 degrees and target only hostile creatures. That makes them safer around a base with friendly NPCs or tamed animals.
Practical turret rules:
- Place turrets at choke points, not evenly around a perimeter.
- Give each turret a clear line of fire; walls block shots.
- Keep a separate battery for defences so colony production does not drain them.
- Use steel turrets for mid-game defence; basic turrets are better than nothing but fall off.
- Check turret ammunition or power before a long trip.
A turret that runs dry is a decoration. Build two at the main entrance rather than ten around the whole base.
Layer 2: logistics automation
Pneumail is the game's shared storage network. In the colony layer, colonist production goes into Pneumail storage, which means you can collect output without visiting every workstation.
Pneumail is not a conveyor belt. It does not move items between arbitrary chests on its own. Treat it as a shared output buffer:
- Colonists deposit produced goods into Pneumail.
- You withdraw from Pneumail at the colony.
- Personal gear and raw materials stay in labelled chests.
- Do not dump everything into Pneumail; you will lose track of it.
Elevators are the other logistics tool. They move you and, in some builds, materials between levels. A base with a deep mine shaft benefits from an elevator more than a surface base does.
Layer 3: colony job automation
The colony system is the real automation layer. After the main story, a Pioneer Station operations computer lets you thaw colonists and assign them to jobs. Confirmed job categories include:
- Plant gathering
- Hunting
- Wood collection
- Fruit, fungi and nut foraging
- Mining
- Clay collection
- Medicine
- Cooking
- Salad preparation
- Pottery
- Workshop production
- Smelting
- Chemistry
- Ammunition production
Each colonist needs a valid room. The room must be at least 8 by 4 tiles, no larger than 32 by 16, with background walls, a bed, a door or hatch, and a working light. Rooms on the Hephaestus do not count.
The colony only appears on a newly generated map. If your save predates Update 27, you will not find the operations computer in it. Start a new world if you want the full automation layer.
Designing a colony for automation
A colony is a production chain with people in it. Plan the rooms around the jobs:
Food block
A cooking room and a foraging/job room near the Pneumail output. Colonists who gather fruit, fungi and nuts feed the cooks.
Metal block
A smelting room near the ore storage, with a colonist assigned to smelting. Keep the Blast Furnace close; speed matters when a colonist is running a queue.
Ammunition block
A chemistry room and an ammunition production room. This is the most power-hungry chain; give it its own battery.
Medical block
A medicine room. It does not produce a combat item, but it keeps the colony running when someone gets hurt.
Do not build all four blocks at once. Start with food and metal, confirm the colonists are producing, then add chemistry and ammunition.
Power and automation
Every automated system needs power. The confirmed numbers are limited:
- Wireless Battery: 1,000 energy, 10 per second recharge.
- Fuel Cell: portable charge for MEG batteries.
- Powered operations computer: required for the colony.
The game does not publish a single wattage table for every station. Build a small power room, test one job, and expand. The power guide→ covers the devices in detail.
Drone accessories
Update 25 added drone accessories that follow the player and fire lasers, plus six Ancient Alien Accessories. These are personal automation, not base automation. They are useful in combat and exploration, but they do not replace a turret or a colonist.
If you find a drone accessory, test it in a safe area before taking it into a boss fight. The laser can draw aggro you did not intend.
What automation cannot do
- It cannot mine a specific ore vein for you before the colony layer.
- It cannot move items between arbitrary chests without Pneumail or manual hauling.
- It cannot keep a base running while the host is offline in co-op.
- It cannot replace the player in a boss fight.
That last point matters. Automation in Signs of Life is support, not autoplay. The game still expects you to explore, fight and make decisions.
A sensible automation order
- Two turrets at the base entrance.
- A labelled storage wall.
- A Battery Charger and a spare wireless battery.
- A Pneumail output for colony production.
- Food and metal colonist jobs.
- Chemistry and ammunition jobs.
- A second defensive battery.
- Drone accessories for exploration.
This order avoids the common trap of building a large automated base before you have the power or the colonists to run it.
Co-op automation
In co-op, automation belongs to the host's world. A colonist job continues only while the host is playing. If the host logs off, the colony stops.
For a shared base:
- Put turrets on the host's power grid.
- Use Pneumail for shared output, not personal gear.
- Assign one player to manage colonist jobs.
- Keep a manual crafting area for players who want to build while the colony runs.
The co-op guide→ covers host rules and roles.
Official source: Update 27 patch notes (colony jobs and Pneumail), Update 26 patch notes (steel turrets), Update 25 patch notes (drone accessories), checked 10 November 2026.
Sources and further reading
- Update 27 patch notes ↗ - colony jobs and shared storage
- Update 26 patch notes ↗ - steel turrets and drone accessories
- Update 25 patch notes ↗ - drone accessories and power items
- Official wiki ↗ - structures and recipes
FAQ
When do I unlock automation in Signs of Life?
Turrets and Pneumail arrive in the mid-game. Full production automation arrives with the post-game colony at the Pioneer Station.
Do turrets need power?
Yes. Place them on a powered grid and keep a separate battery for defences.
Can colonists work while I am offline?
No. The host must be playing for the world to simulate. In co-op, the host's session is the server.
Does Pneumail move items automatically?
It acts as shared storage for colony output. It is not a free conveyor system between arbitrary chests.
Related Signs of Life Guides
How power works in Signs of Life: wireless batteries, fuel cells, battery chargers, power cores and the colony's powered operations computer.
How the Signs of Life colony works: Pioneer Station computer, room requirements, colonist jobs, Pneumail storage and new-world requirements.
How base building works in Signs of Life: valid room sizes, walls, doors, lighting, station layout and the mistakes that waste materials.
Every major Signs of Life 1.0 change: the ending, Xenoid cities, colony management, rebalanced gear, controls and co-op fixes.
The Signs of Life achievement list with global unlock rates, the gemologist chain, the joke achievements and a practical completion route.
How the Signs of Life alien language works: scan inscriptions, build understanding, unlock Xenoid dialogue and extract seven archive records with AGIS.
More Signs of Life Guides
How armor works in Signs of Life, the best early and late sets, Ghost Hide and Energy Plate bonuses, mining suits and co-op gear priorities.
Choosing a Signs of Life base location: ore access, flat ground, biome hazards, story travel and the best spots for a first or late-game base.
Practical Signs of Life tips for new players: scan everything, manage stamina, build one good room, and avoid the early base traps.
A tour of Signs of Life biomes: grasslands, purple alien terrain, caves, ruins, Xenoid cities and the late-game New Earth areas.
The major Signs of Life boss fights, the order to attempt them, gear checks and arena tips, plus a pointer to the Buff Mechington Mk2 strategy.
How to beat Buff Mechington Mk2 in Signs of Life: the glowing weak points, head-tail-chest order, the three-second chest window and co-op tactics.
How Signs of Life co-op works: Steam friend hosting, drop-in play, character transfer, shared storage, PvP settings and role splits for two players.
A Signs of Life crafting guide: work table tiers, furnace upgrades, hammer requirements, recipe chains and how to organise production.